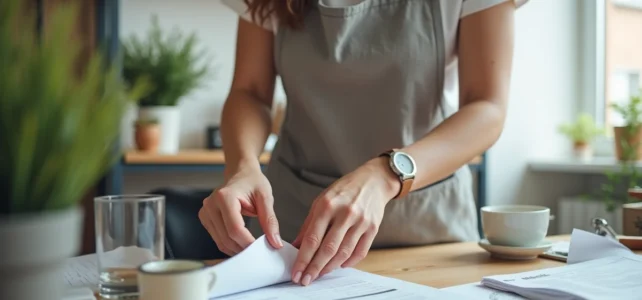
A diploma slipped into a laminating pouch twenty years ago, a family photo sealed under a glossy film, an administrative certificate rendered unreadable due to the yellowing of the plastic: the need to remove this protective layer arises more often than one might think. Laminating was designed to be permanent. Removing the film without tearing the paper fibers or altering the ink requires understanding what truly binds the plastic to the document.
What Makes De-laminating So Delicate for Paper
Have you ever tried to peel an old sticker off glass? The adhesive resists, stretches, and leaves residues. With a laminated document, the mechanism is similar, but the stakes are much higher. The hot melt adhesive used during laminating partially penetrates the paper fibers as it cools. It does not stay on the surface: it anchors itself in the very structure of the document.
This is why the International Federation of Library Associations (IFLA) and several national archive services consider laminating a non-reversible operation. Any attempt to remove it using heat or solvents can cause delamination, tearing of fibers, alteration of inks, and weakening of the substrate.
Before attempting anything, one must accept a reality: no method guarantees a perfect result on all documents. The type of film, the thickness of the pouch, the nature of the paper, and the initial process completely change the difficulty of the operation. A comprehensive guide explains how to de-laminate a document easily according to the most common scenarios.
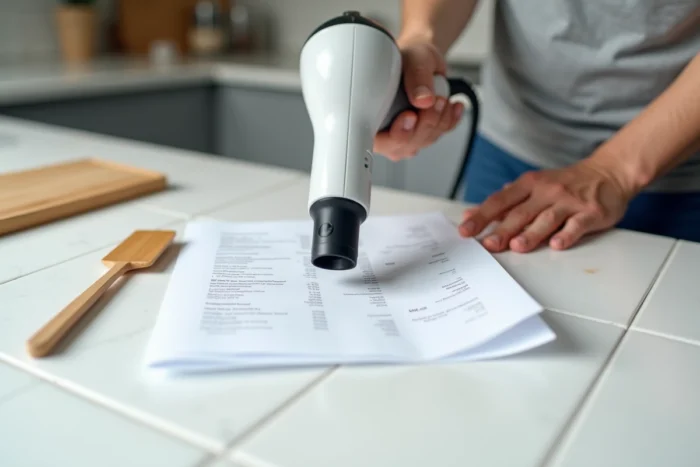
Thermal Method for Removing Lamination: Iron and Hairdryer
Heat remains the most commonly used approach to soften the hot melt adhesive. The principle is simple: heat the plastic film until the adhesive becomes malleable, then gently peel it off.
With an Iron
Set the iron to a low temperature, without steam. Place a thin cotton cloth (a clean dish towel, for example) between the iron and the laminated document. Move the iron slowly, in sections of a few centimeters. As soon as the plastic begins to lift at one edge, gently lift it with a flat spatula or the back of a butter knife.
- Never stay in one spot for more than a few seconds: prolonged heat burns the paper and melts inkjet ink
- Always work from an edge towards the center, never pulling the film from the middle of the document
- If the paper starts to bend or ripple, let it cool flat under a heavy book before resuming
With a Hairdryer
The hairdryer offers finer control over temperature and the heated area. Hold the device about ten centimeters from the document, on medium heat. Heat one corner for about thirty seconds, then try to lift the film.
This method is better suited for small formats (cards, photos) and laser-printed documents. Inkjet prints do not handle direct heat well, even moderate heat.
Removing Plastic Film Cold with Mild Solvents
When heat is not an option (old document, fragile ink, very thin paper), certain solvents can gradually dissolve the adhesive without applying temperature.
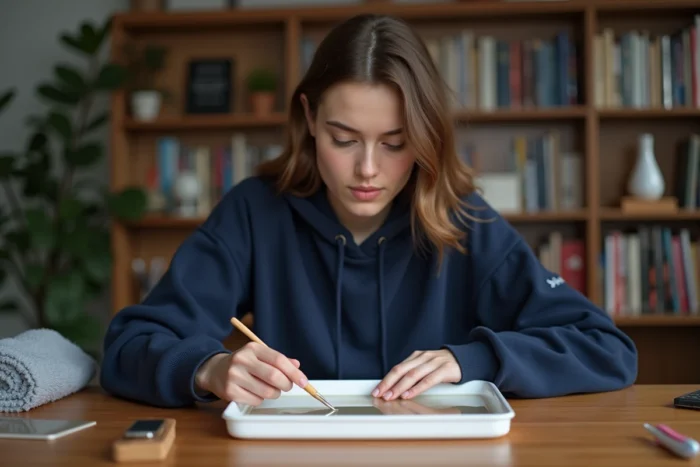
Diluted isopropyl alcohol is the most commonly cited in restoration protocols. Apply it with a cotton swab on an already slightly lifted edge, allowing the product to migrate under the film for a few minutes. Then lift the plastic millimeter by millimeter.
Some precautions to remember:
- Always test the solvent on a non-visible corner of the document before treating the entire piece
- Old aniline-based inks may dissolve upon contact with alcohol: if color migrates onto the cotton swab, stop immediately
- Never pour solvent directly onto the document: excess liquid distorts fibers and creates permanent rings
- Work in a ventilated area, as isopropyl alcohol vapors are irritating in confined spaces
When to Entrust De-laminating to a Professional
For a restaurant menu or a revision sheet, attempting de-lamination oneself poses no major risk. The document can be reprinted if the operation fails. The situation changes radically with a notarized deed, an original diploma, or an irreplaceable family photograph.
Restoration laboratories in Europe have been offering “semi-reversible” de-lamination protocols for a few years, based on controlled baths and neutral solvents. These interventions remain rare, costly, and reserved for documents of very high heritage or sentimental value.
If the document is unique and irreplaceable, do not attempt to de-laminate it yourself. The risk of destruction far outweighs the inconvenience of keeping the plastic film in place. A professional restorer will first assess the feasibility before intervening, something no online tutorial can replace.
Common Mistakes When Removing Lamination
Pulling the film off sharply is the most natural reflex, and the most destructive. The paper almost always tears, especially if it is of standard weight.
Another trap: using a cutter to score the film before lifting it. The blade cuts into the document underneath without one realizing it. Prefer a flexible plastic spatula, which slides between the film and the paper without risking a cut.
Heating a document printed on thermal paper (like some tickets or receipts) completely darkens it. This type of paper reacts to heat by design. Always check the nature of the substrate before applying any heat source.
De-laminating remains an operation counter to the very function of the protective film. Patience and slow progression, centimeter by centimeter, is the only approach that truly preserves the paper. On a valuable document, it is better to spend an extra hour than to face fiber tearing after a too-quick move.